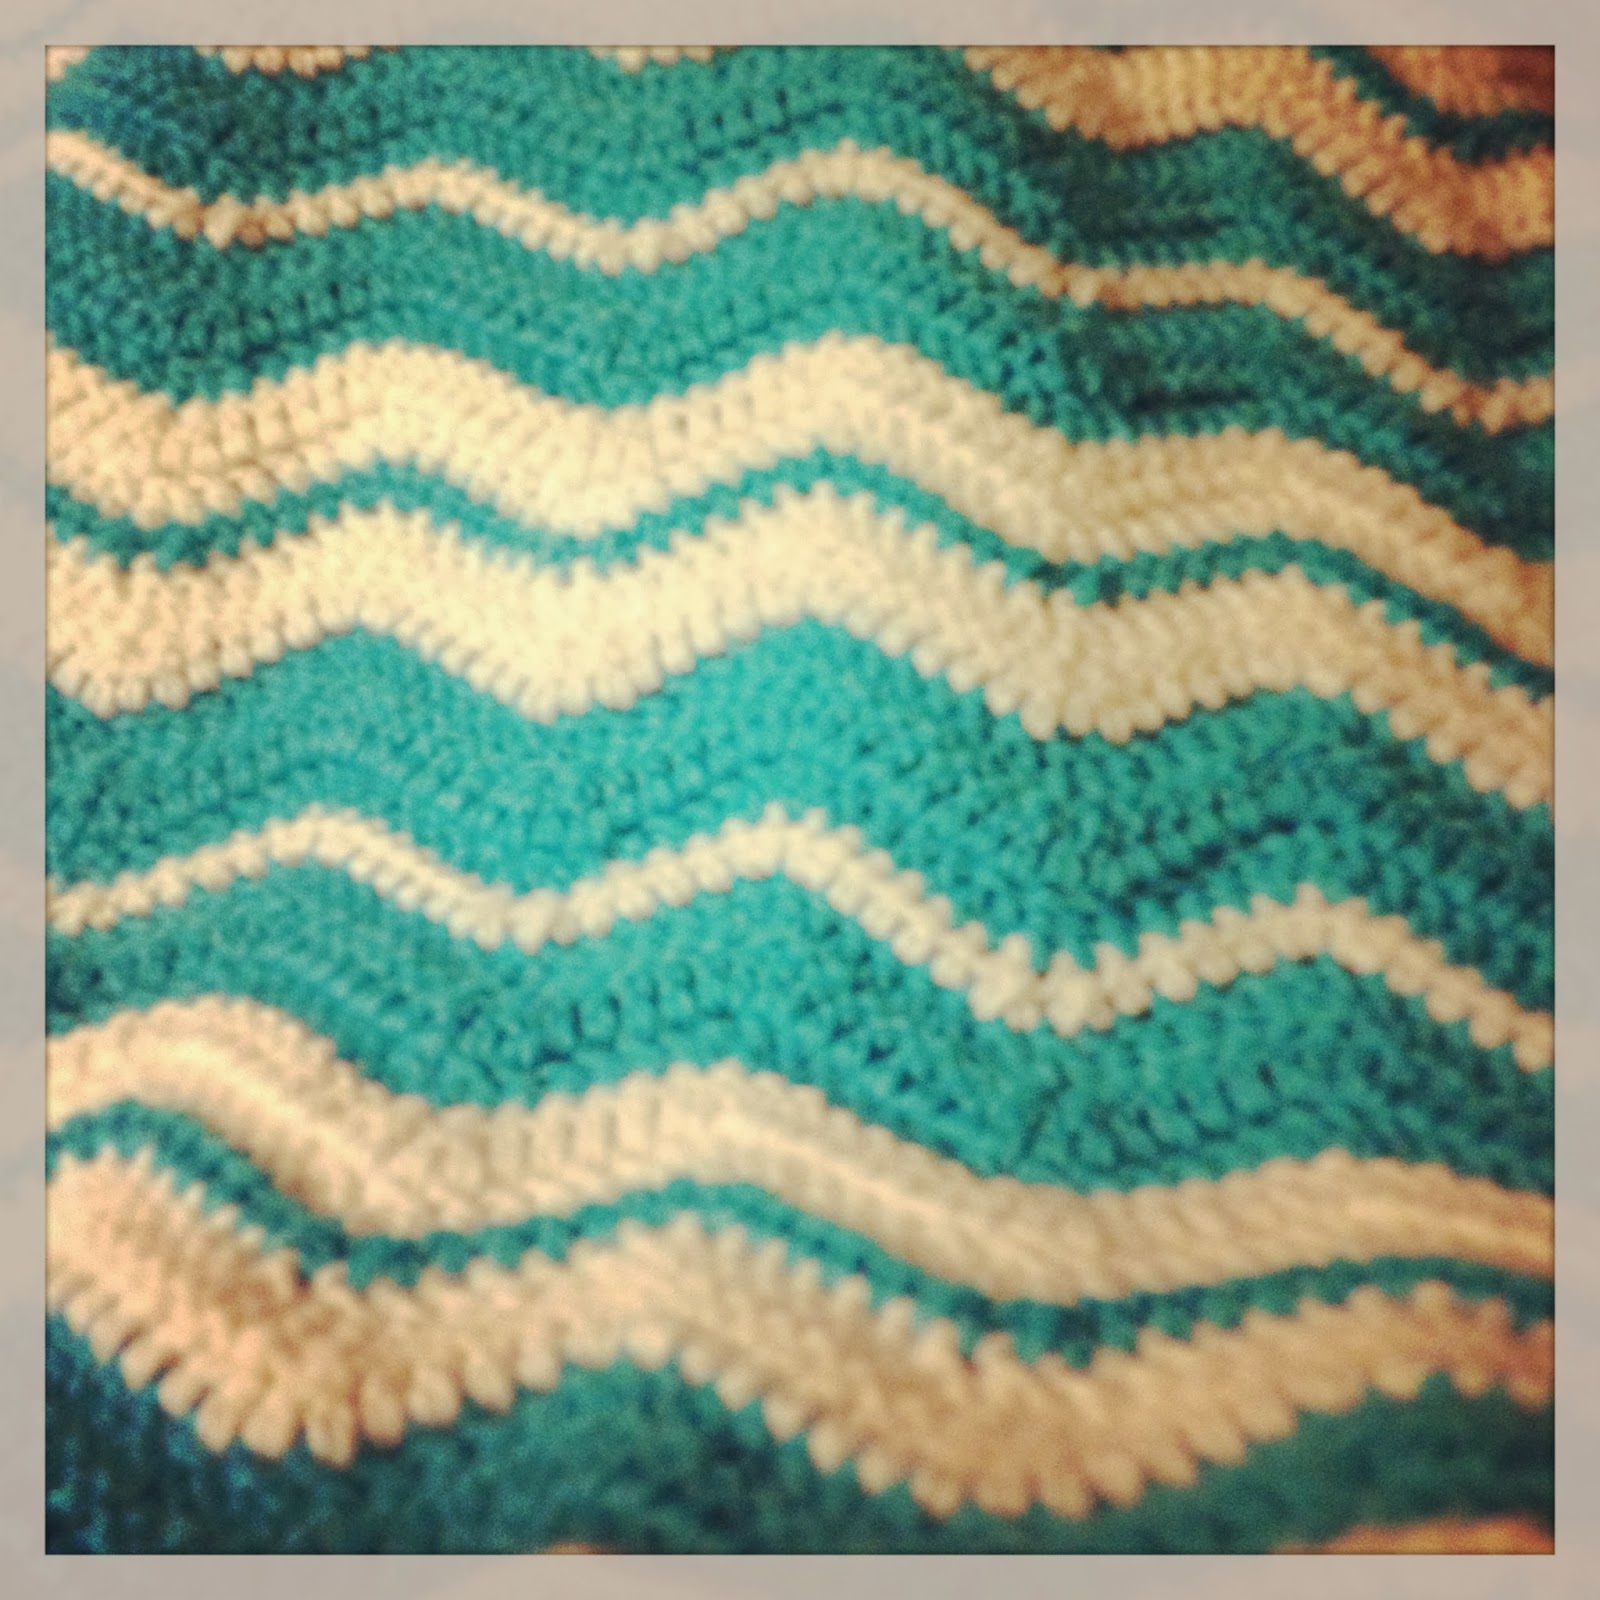
Thursday, May 29, 2014

Summer.

School is out, summer is in full swing. I decided that I am going to finally make myself a granny square blanket. I've made grannies before, usually for swaps or giant grannies for other people, but never for myself. Originally I was going to make a Babette. For those that don't remember the babette craze, that inspired CAL's ( crochet a-longs) all over the interwebs, let me take a stroll down memory lane. Picture this, sicily 1912..... Well not really, more like the internet, 2006.  Ok so in 2006 interweave crochet magazine published a pattern called the Babette designed by Kathy Merrick. The design itself was simple, solid granny squares in various sizes put together to look like a patchwork quilt.
This blanket made people go crazy. They couldn't keep the issue on the shelves and in the end they put out a digital pattern for it. So the big thing with this blanket is the placement of squares.The pattern includes a diagram, and a detailed chart with which squares can be made with which colours. The pattern is a genius pattern, the biggest issue with the original is that it the designer used Koigu wool. Which is very pricey, and also uses small hooks. The original blanket calls for 17 different colours of wool using a C and E hook. Now, if you have never crocheted before, the C and E hooks are small, like really small. They make small stitches. First I crochet tightly in general, and this blanket is quite small already, so this means using the yarn weight and hook sizes suggested my toddler's dolls would have a lovely blanket. I wanted to make a new template, but this involves being a puzzle maker.
Which of course as we all remember from the bobbin post I am no puzzle maker. I tried. I failed. It wasn't pretty. Also this blanket is made with solid granny squares and with solid granny squares you would have to make each square and then sew them together when you are done. In the immortal words of grumpy cat:
I decided to troll ravelry ( FYI I know I 'm using troll incorrectly here, but don't care LIVE WITH IT) and the finished babettes to get ideas. And boom, angels sang, light shone, a heavenly choir the whole thing. Someone ( Maryfairy) so lovely made a square chart for me to follow and made the most beautiful blanket, she called it a cross between the Nanny McPhee blanket ( which is the traditional granny square type blanket) and babette. GENIUS.  (Link to Maryfairy's project) I love this woman, seriously I do. Because she included a chart so I wouldn't have to. Love.

Anyway... I decided this was it, I was going to do this and this would be my blanket. MINE. Not yours. Mine. So let me present to you my granny mcphee in progress.

Because it is summer I decided being outside at the park is the way to go with this blanket. 


see at the park enjoying the day.

So I have a love affair with Vanna's Choice. 

Impeccable isn't bad either

I'm not sure on the colour next to the yellow, I'm holding it to see if it grows on me. I haven't used it yet, but we will see. 


I have 29 skeins of yarn. I'm going through my yarn stash to kinda bust it ( really so I can buy more yarn *snickers*) I really wanted my blanket to have a common theme of colour and not be a funky mishmash of colours that make no sense. ( which is why I'm still holding that one colour, not sure if it goes with my flow) * side bar* this is why I love Vanna's Choice, all of the colours go together no matter which ones you pair together they look great together. /love of Vanna's Choice

So here I am right now. I am loving the join as you go. No squares hanging around getting lost, as soon as I make it, it goes on the blanket. It feels like I'm making progress every time I finish a square.

If anyone is interested in following my progress on Ravelry, here is the link to my blanket on ravelry.  


**disclaimer, it is late, I'm late night blogging, this leads to potential incoherent thoughts and sentences that probably make sense in my tired state, but won't when I'm fully awake. I apologize and will fix it in the morning.**


Monday, May 5, 2014

DIY: Homemade yarn bobbins

I've been into making graphghans lately. Or I should say I've been into thinking about making graphghans, as I look at the pile of projects I have still to make. Well at any rate, I figured I would get ready to make one by getting my yarn bobbins together. I'm cheap #1, so I have a bunch of embroidery thread bobbins, which while they work ok, they are small and don't hold much yarn. I wound up google searching to see if there was a way to make DIY bobbins and there are few, so I decided to try my hand at making my own. So here we go: Warning, there are a ton of pictures.

This is a traditional thread bobbin

While it works well as you can see the yarn slips off and it can't hold nearly as much yarn.

Unlike a DIY cardboard bobbin

You will need the following materials.

a cardboard box, I used one of the many priority boxes I have laying around. You want a box that will be stiff enough to hold its shape and not bend with yarn wrapped around. 


I used one template and simply enlarged it to get two different sizes. (This is linked at the bottom of the blog.)

a cutting board or any surface that you don't mind getting messed up. This is my no food craft cutting board.

an exacto knife, this can be optional because you can use scissors, but I find the knife to be far more efficient, scissors and a pencil.

you want to take your box and cut it on the seam so that the box will open flat.

see.

It will be a bit easier to cut it once it is opened rather than fiddle with it while it is whole.

you'll want to cut each section,

so you will have 4 different pieces of cardboard

now you may be a puzzle genius and know exactly how to get the most bobbins out of your cardboard. I am not... So yeah, you want to take your templates and trace them onto the cardboard. You may also be better at this than me and I'm cool with that. :)

next you will want to take your exacto knife and at first lightly score your lines. 

then you will want to go back over them until you feel the knife break through the cardboard

as you can see it takes time and a little bit of force

once you have scored/cut enough, you want to start breaking it out. 


nice and easy.

This is optional, but you can cut some notches ( or even just one on each side or whatever you want) to hold the yarn like a regular bobbin.

and boom. there you go, two different sizes of yarn bobbins. 


Here is where I got the bobbin template. I simply saved the image from the page. I can't remember the percentage I used, but you can play around with it until you get the size or sizes you want. 

Hope this was helpful for you!


Tuesday, February 11, 2014

New year, same ole' me.

Here it is 2014 and I'm still behind on my blog. I do apologize as I don't ever intend to stop blogging, but well.... What can I say?

So once again here I am: I've started crocheting once again. I even made a little business page on Facebook, which I do ok on. It keeps me trying new things and on track ( for the most part).

I'm trying to make a resolution this year to really blog more, take more pictures ( and as a bonus improve my photography), and to really branch out in my crafting. Oh and to carry my real camera with me. Having my phone has pretty much just enabled me to keep my DSLR at home. Not a good thing when I am lobbying my husband for a new lens for my birthday.

Because I'm a picture whore I'm throwing in some of the items I have made these past few months.

This was supposed to fit a newborn.. HA, more like a preemie. I put my phone next to it for size comparison. Also I sewed the ears on the wrong way. It's supposed to be a bear, but with the pink insides it reminds me more of a mouse. 

I eventually made 5 of these cute little hearts and made a little bunting ( no picture of the finished product as I am still debating on the chain portion)

A cute little monster hat for an adorable monster. 

I no longer will be having babies, but I cannot help but make baby clothes because they are just so adorable!!!!

Stitch's minion hat. Who doesn't love these little guys.

originally this had a face to go with it, but there were some, ahem, technical issues, that made it look like... well... a penis.. So blaze and muzzle were removed and it morphed into this. 

This is a little Amineko kitty 
(this is a free pattern, not mine, and it can be found here. ) So normally they aren't this small, but apparently I crochet very tight. I made 3 of these little guys. One for my mom, one for one of the twins and one for stitch. 


This is the twin's kitty. She loves Downton Abbey. 

This is Stitch's kitty. Who looks like Mr. Miagi. Wax on, wax off. 

This was the first one I made ( the purple, my mom's) It all started because my daughter asked me to help her make one, well yeah no good, because I apparently crochet so dang tight that my kitty is nearly half the size of her's ( the orange kitty). We used similar yarn and same size hooks. 

It's hard work being a yarn cat.. think i'll take a nap.

I made this adorable Jammie Dodger cookie ( also not my pattern, it can be found here) I had a grand idea to make 3-4 for Stitch's tea time, but she said no thanks mom. Brat.

Stitch has been obsessed. I mean OBSESSED with What does the fox say. Incase you have been living under a rock I will link the video in this post. So obsessed she made me put the song and video on her iPod so she can listen to it any time she wants. Did I mention she's only 3? Yeah, she's a diva what can I say. At any rate I made her this cute little hat and the day I made it, she suddenly decided that she no longer liked foxes... Fast forward a few weeks and Sunday she asked me to make her a fox hat. -_____- well played child. WELL PLAYED. Did I also mention I have no idea what she did with this hat? I don't. Now  I have to find it. Overall this is a cute hat, but the ears gave me a hassle. 
(also not my pattern and it can be found here, FTR I used Vanna's Choice for this hat, but in Terracotta and white and charcoal in Red Heart since that is what I had on hand, and didn't feel like running to the store for new yarn.)


Just in case you have been living under a rock for the past year. And I'm sorry if your child walks into the room while this video is on, because you will be forced to listen to it for many hours. 

Wednesday, September 25, 2013

Loads of pictures. Beware.

I've been a busy bee since my last post ( which I can't even remember when that was.). But let us not get stuck on what a horrible updater I am.
I've gotten back into crochet once again, and after seeing the cutest clay covered crochet hooks I decided to try my hand at it. Just for my hooks.

a scarf for my best friend

the beginnings of the Corner to Corner (C2C) blanket for my husband

a cowl I had made

A washcloth

CHICKEN

MOAR CHICKEN!!!

The shawl I made my mom ( the light made the yarn look grey but it was in fact blue

finished

Still working on this thing. It's a monster

another chicken

mustached coffe cup cozy

the beginnings of the teenage drama queen's blanket

action shot

starry starry night blanket started


happy halloween y'all

just need to sew on the stars. 

Rah Rah Ruffles scarf

still more to go on this sucker.